
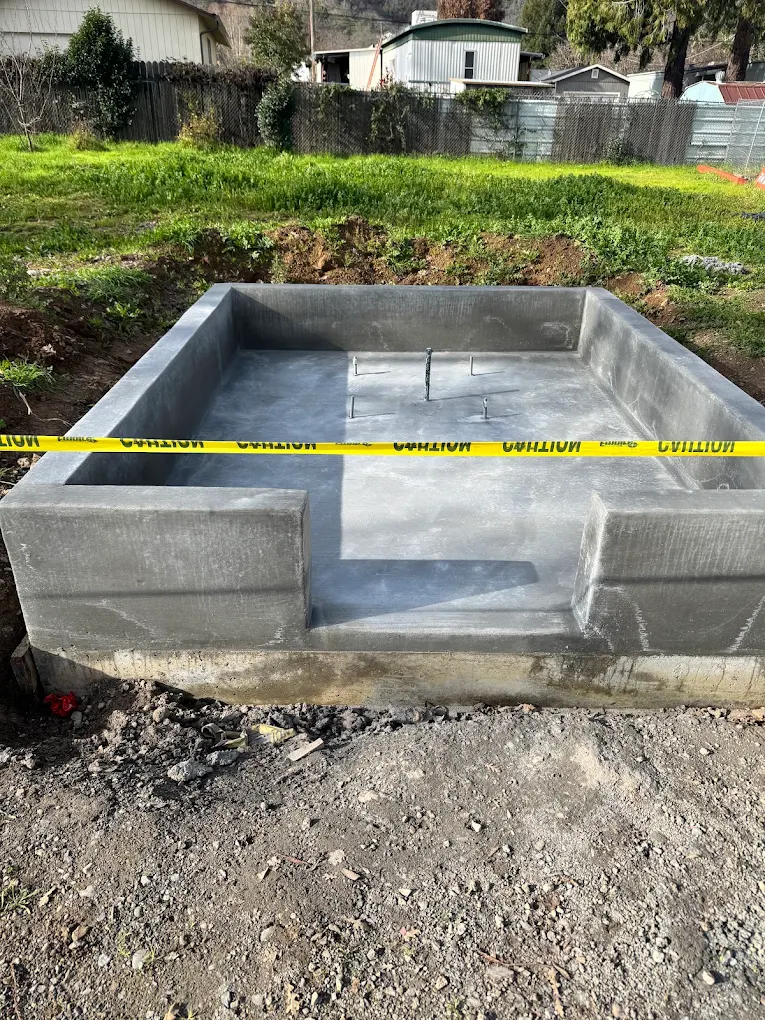
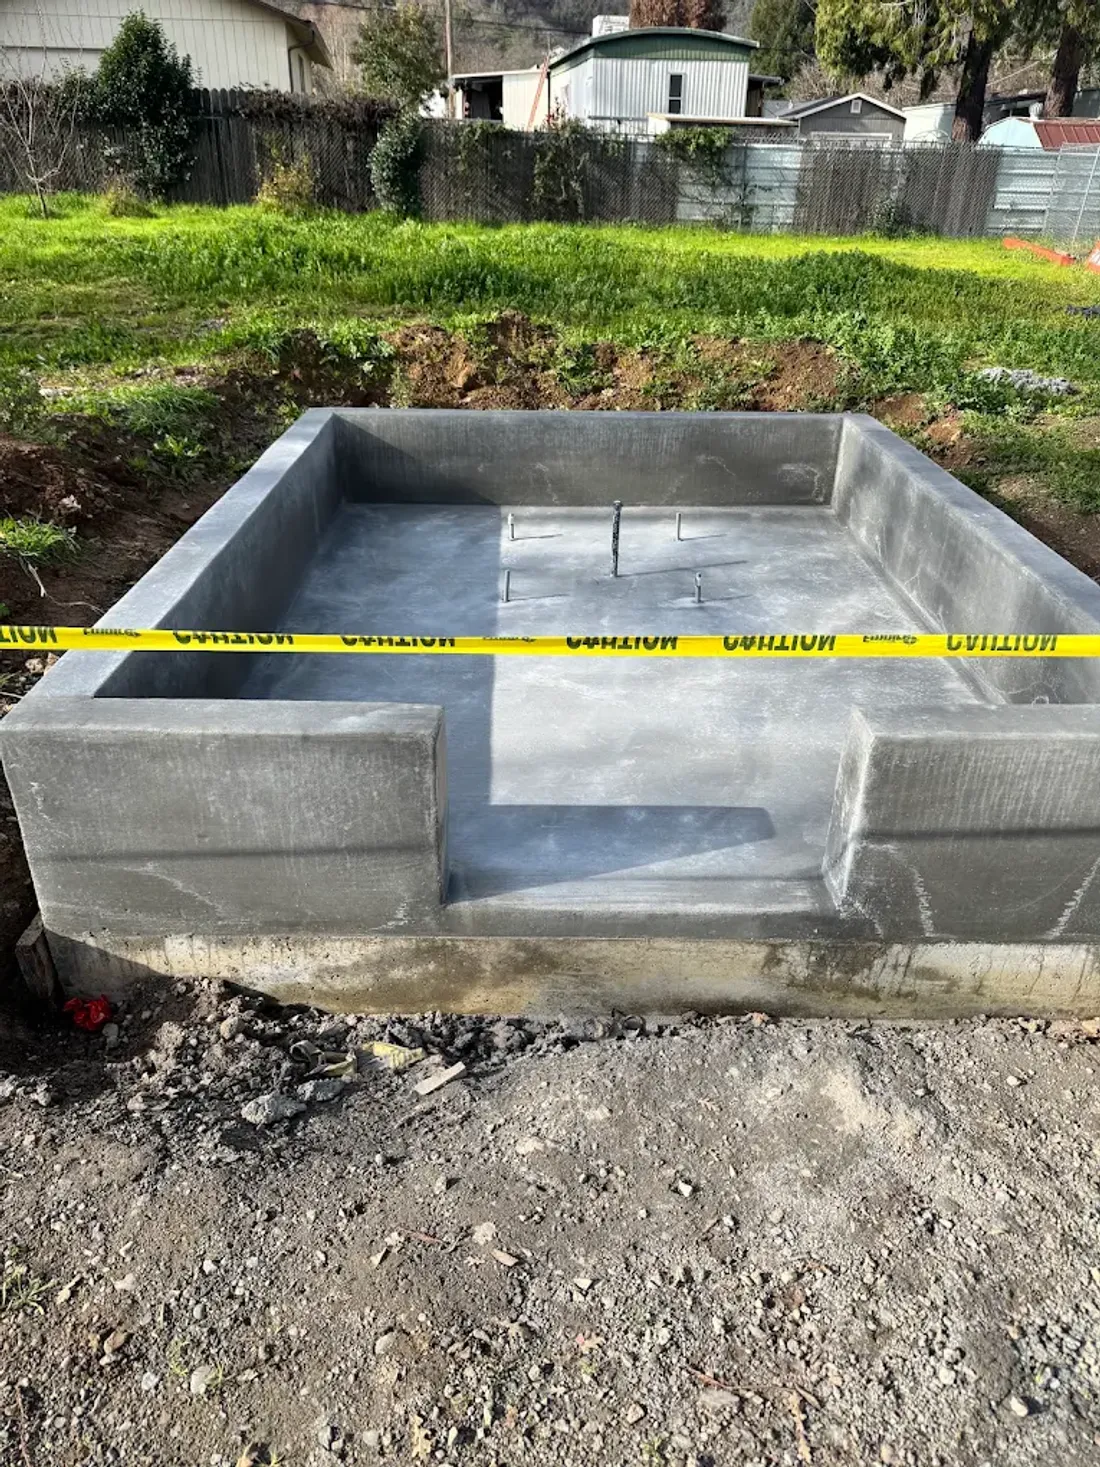
A shed seems like a straightforward project until the base and the building are planned separately. The concrete is poured, the shed arrives, and the dimensions, door position, or anchorage instructions do not line up with the assumptions made earlier.
The simplest way to avoid that problem is to choose the structure before finalizing its slab. The base should suit the actual shed, its intended use, and the requirements of the property. A generic rectangle is not a substitute for that information.
If you are planning a shed in Windsor or elsewhere in Sonoma County, use this checklist to organize the conversation with the concrete contractor and the shed supplier. It will help identify what is known, what still needs a decision, and who is responsible for each part of the installation.
Get the shed information in one place
Start with the model, drawings, or manufacturer’s installation information. Include the actual base dimensions, door location, anchorage details, and any stated foundation requirements. The advertised overall size may not answer every question about the supporting concrete.
If the shed will be built from custom plans, use the current drawing set. Tell the concrete contractor whether the plans are final or still changing. A preliminary conversation can identify access and sequencing issues, but the construction scope needs the appropriate final details before placement.
Keep the information together rather than forwarding isolated screenshots from different versions. If the shed choice changes, tell everyone involved. A small change in the product can affect the base and should not be treated as a purely cosmetic substitution after the concrete plan is established.
Describe what will be stored inside
A shed for garden hand tools is different from one intended for heavy equipment, a workshop, or another use. Tell the contractor what the structure and slab are expected to carry and how you will move items in and out.
Do not assume that the same base detail suits every building with the word “shed” in its name. The structure, loading, support conditions, and applicable requirements need to guide the construction details.
Mention likely future changes without presenting them as guaranteed plans. If you are considering utilities, heavy equipment, or a different use later, ask what decisions would need to be resolved now. The useful answer may be to obtain more design information before proceeding, rather than adding guessed details to a slab that was intended for something simpler.
Check the proposed location before committing to the footprint
The empty corner of the yard may look convenient, but the location has to work with property constraints, drainage, existing services, and access. A small structure does not automatically settle questions about setbacks or approvals.
Use the actual address to confirm the requirements with the appropriate jurisdiction. If you have already received planning or building information, share it with the contractor. Avoid relying on a neighbor’s project as proof that the same arrangement applies to your property.
Consider how the shed will relate to the house and yard after installation. Can the surrounding area still be maintained? Does the location block a useful route? Will equipment have to make an awkward turn through a gate before reaching the door? Those everyday questions can be resolved more easily before the slab location becomes fixed.
Put the door and approach on the sketch
The shed footprint is only part of the layout. Draw the door in its actual position and show the route leading to it. Think about the largest item you expect to move through that route.
A door facing a narrow fence gap may make the interior difficult to use even when the shed itself fits comfortably. A landing or path may be needed to create a practical approach. If the yard changes level near the entrance, that connection deserves early review.
Do not guess at the finished slab height based only on a preference for a flush-looking doorway. The shed details, surrounding grades, and drainage need to be considered together. The contractor and installer should agree on the relevant connection before the concrete is placed.
Review the edge of the slab with the building details
It may seem useful to make the concrete larger than the shed so there is a border around it. Whether that is appropriate depends on the shed construction and the way water will behave at the building edge.
Ask the supplier or designer how the slab footprint should relate to the walls and door. Share that detail with the concrete contractor. An exposed ledge or an incorrect base dimension can create a condition the shed installer did not plan for.
This is a good example of why the two scopes need coordination. The concrete crew should not have to infer the building detail, and the shed installer should not arrive expecting a base specification that was never provided. A clear drawing or installation requirement gives both parties the same target.
Work through anchorage before placement
Find out how the shed is intended to be attached to its base and who will perform that work. The required details should come from the appropriate product information or project design.
Some decisions may affect the concrete construction or the sequence of installation. Others may belong to the shed installer after the slab reaches the required condition. The important point is to identify the responsibility and timing rather than assume the base and building will somehow connect later.
If the structure changes, review the anchorage information again. Do not assume a different shed can use the same details without checking. The concrete scope should be tied to the actual installation, including any required coordination with the supplier or other professional.
Identify utilities and penetrations early
If the shed will have electrical service, water, drainage, or another utility, bring that plan into the discussion before the concrete closes off access. The relevant trades may need to complete work or establish locations before placement.
A statement that utilities will be added “someday” is not enough to design every detail. Explain what is known and ask what information is needed to preserve a practical sequence. There may be decisions that should wait until the future use is defined.
Also share known existing services near the proposed slab. That information does not replace the appropriate locating process before excavation, but it helps identify the questions. A shed project can involve ground work in a part of the yard where buried conditions are not obvious from the surface.
Assess the construction route
Many sheds are placed in the part of the property farthest from direct vehicle access. The route for excavation, base materials, concrete placement, and shed installation may be narrow or interrupted by steps and gates.
Photograph the entire route from the street or driveway to the proposed location. Include clear gate openings, tight turns, overhead constraints, and surfaces that need protection. The concrete contractor and shed installer may use the route differently, so both need to understand it.
Do not remove a gate or planting before confirming what actually helps the work. A wider opening at one point may leave another constraint unchanged. A coordinated access plan can avoid unnecessary disturbance and make the estimate more realistic.
Align the slab schedule with the shed delivery
The shed should not be scheduled to arrive simply because the concrete has been placed. The slab needs to reach the condition required for the next activity, and installation may involve loads or anchorage work that differ from ordinary foot traffic.
Ask the concrete contractor and shed installer to coordinate that handoff. Who confirms readiness? What access must remain clear? Where can the shed components be stored if delivery and installation are separate events?
Avoid using the delivery date as pressure to put the slab into use earlier than the project instructions allow. It is usually easier to plan the sequence in advance than to improvise storage or installation arrangements after a truck arrives with the building.
Compare complete base estimates
A useful slab estimate should identify the proposed area, removal if needed, preparation, project-specific construction details, finish, and cleanup. Related work such as paths, utility coordination, or surrounding restoration should be assigned clearly.
Ask what the price is based on. Is it based on the current shed information and approved plans where required, or on a preliminary description? If important details are missing, find out what must be resolved before the estimate becomes final.
Do not compare only a square-foot figure. Two proposals may include different preparation, access assumptions, or related work. The right comparison is the complete base needed for the shed you have selected, not an abstract rectangle of concrete.
Keep the project small by keeping it clear
A shed slab does not need unnecessary complexity, but it does need the right information. A short coordination checklist can prevent a modest project from acquiring avoidable changes later:
- Confirm the shed model or current drawings.
- Identify the actual base dimensions and door position.
- State the intended use and expected loads.
- Confirm the location and applicable approval requirements.
- Assign anchorage and utility responsibilities.
- Review drainage and the slab-to-building edge.
- Plan construction access and protection.
- Coordinate the slab’s readiness with shed installation.
If one item is undecided, name it. A clear open question is easier to resolve than an assumption that quietly becomes part of the construction.
Build the base for the shed you intend to use
The slab should support the real building and the way you plan to use it. Choosing the shed, understanding the location, and coordinating the installation gives the concrete work a defined purpose.
Hard Stone Concrete builds shed concrete slabs and related site preparation in Windsor and Sonoma County. Bring the shed information, a site sketch, and photographs of the access route when you contact us.
That preparation helps turn “a pad for a shed” into a project that fits the structure, the yard, and the next step in the installation.